OpenAI, Supabase Auth and Javascript
This tutorial will guide you through how to call the OpenAI API from a Javascript web app that uses Supabase Authentication without a backend or cloud function using Backmesh. This will entail creating an LLM API Gatekeeper in the Backmesh Dashboard and then using it in your app.
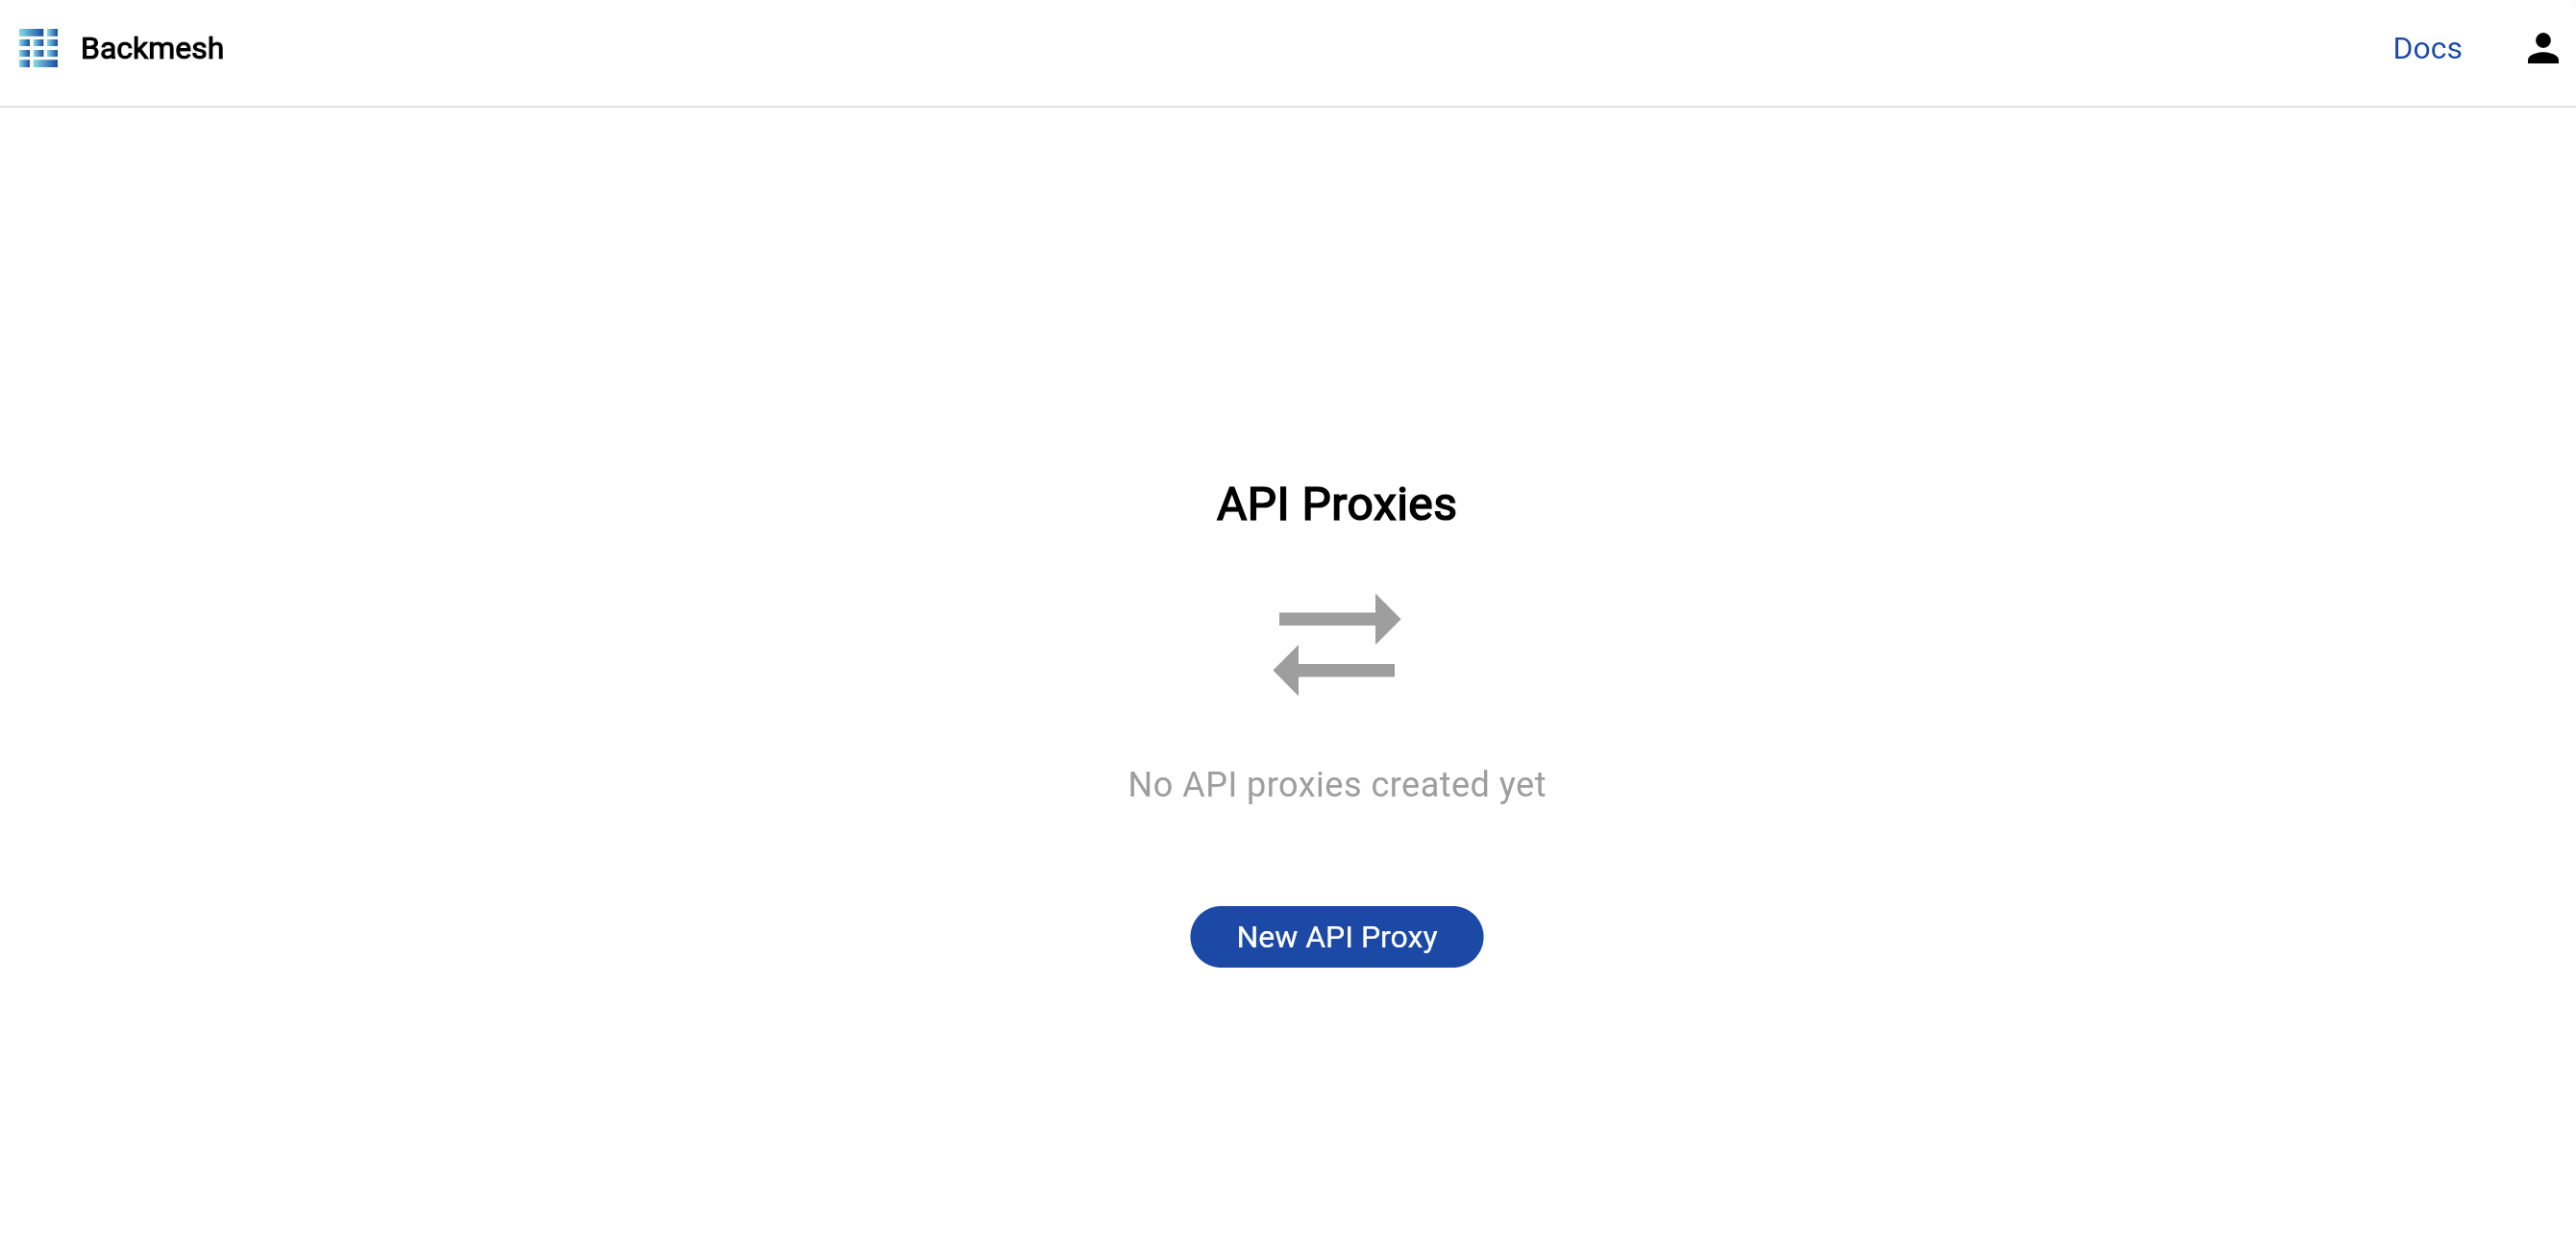
The Backmesh dashboard won't have any API proxies so click New to get started
Step 1: Set OpenAI API details and rate limit configuration
Grab your OpenAI API key and enter it. This value will encrypted and no longer viewable once it is saved.
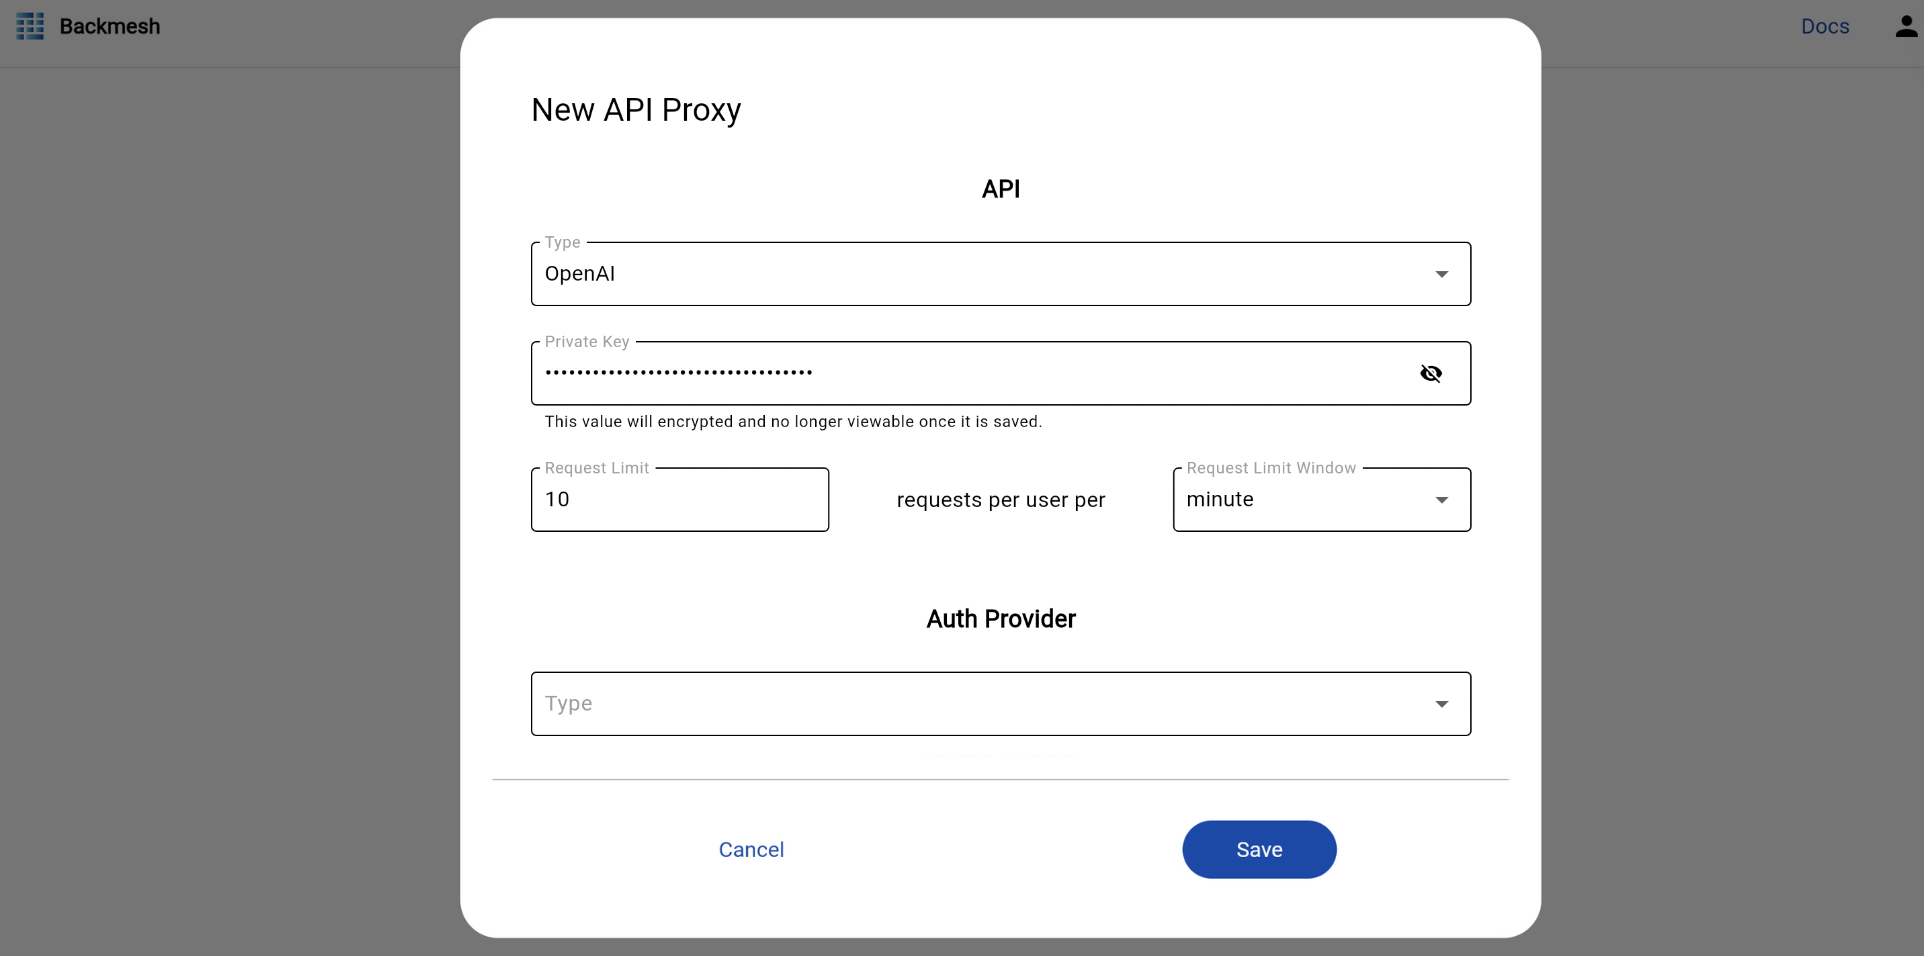
Set the request limit you consider safe. This is set globally per user for a configurable time window.
Once this rate limit is exceeded by a user, Backmesh will return 429 HTTP responses automatically until the time window passes. Make sure to handle this gracefully in your app. You can change this limit at any time in the Backmesh dashboard.
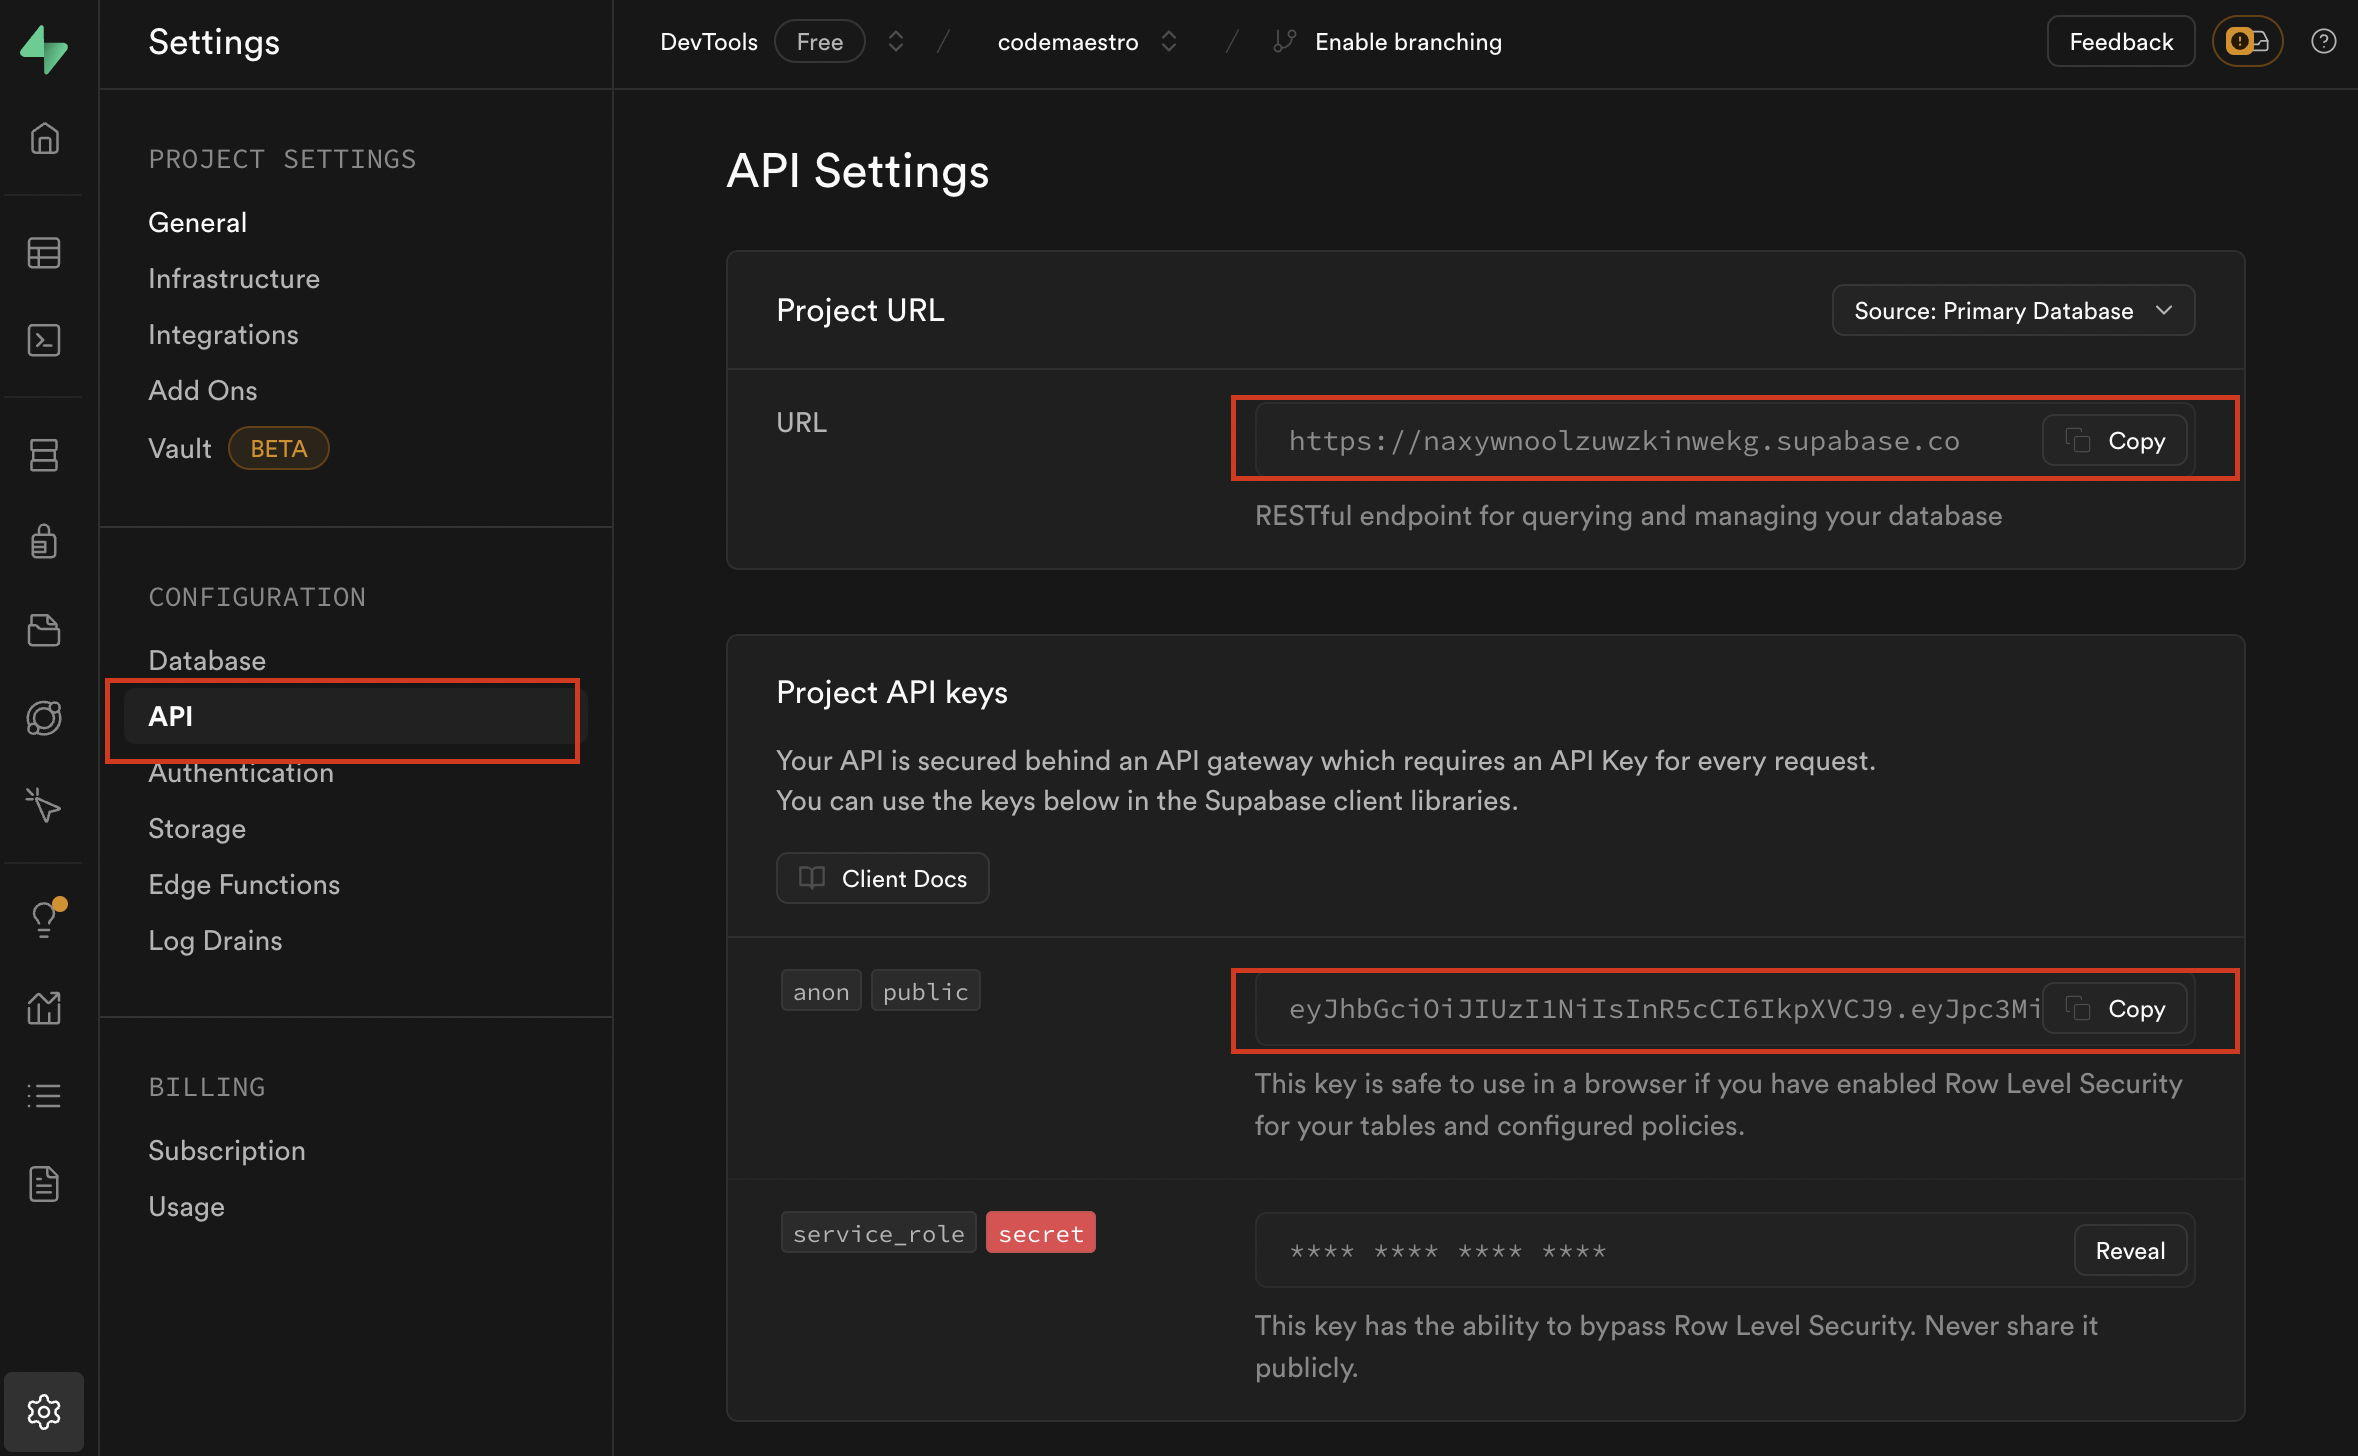
Step 2: Set the Supabase project used for Authentication
Go to the Supabase dashboard to grab the project ID and public project key
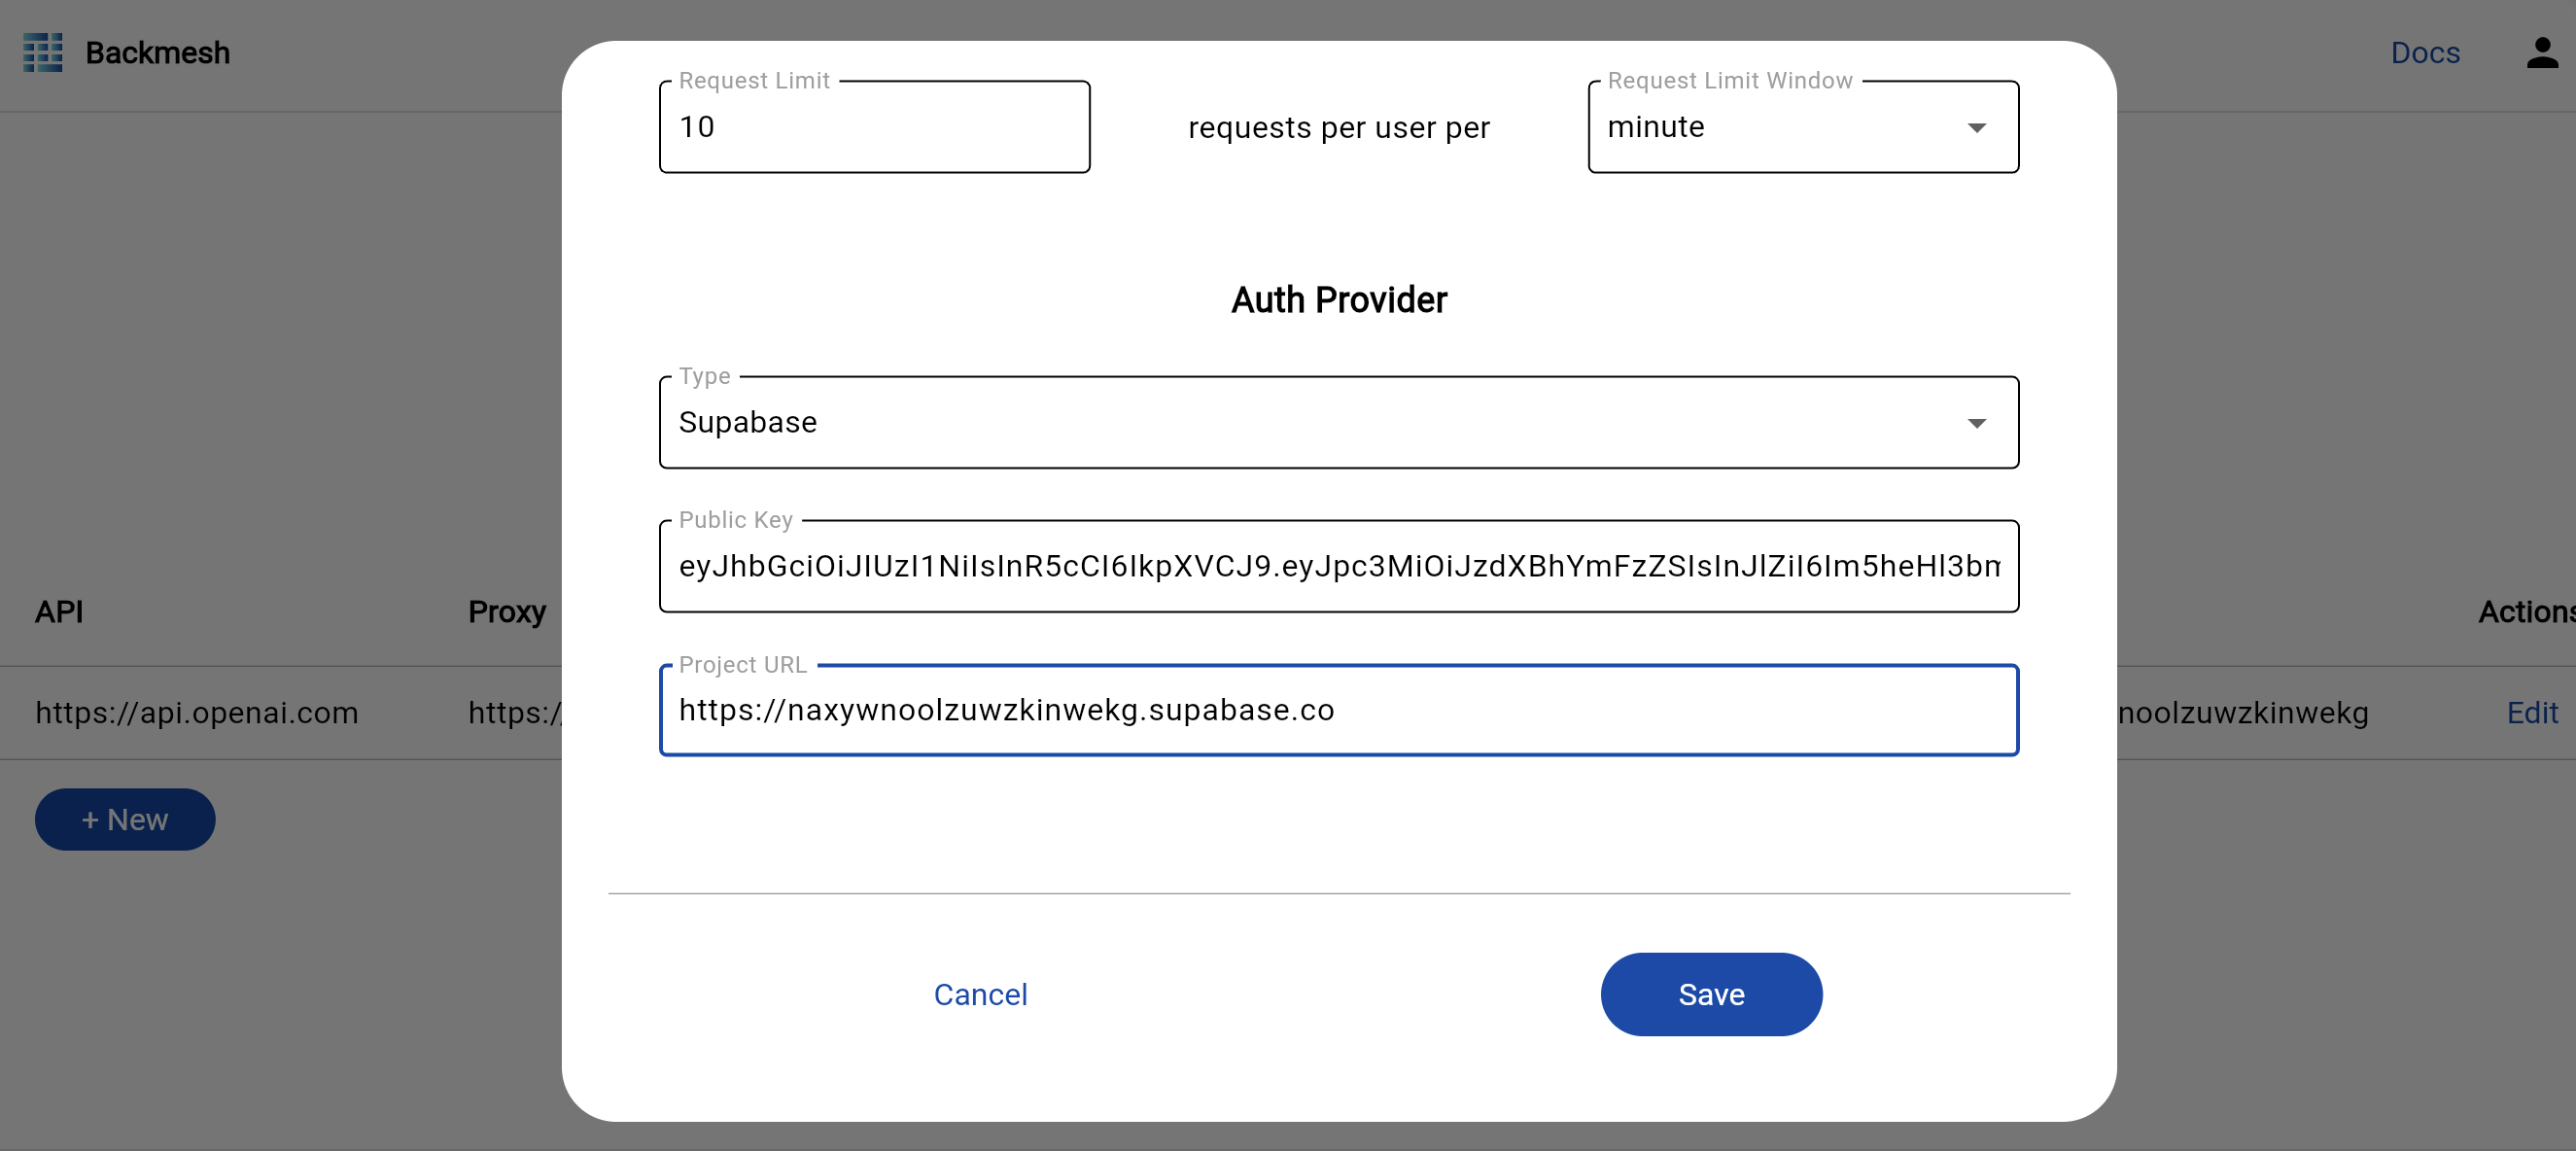
And put them into the Backmesh LLM API Gatekeeper configuration
Step 3: Safely use the Backmesh LLM API Gatekeeper in your app using the Supabase Auth JWT
Grab the Backmesh LLM API Gatekeeper URL provided:
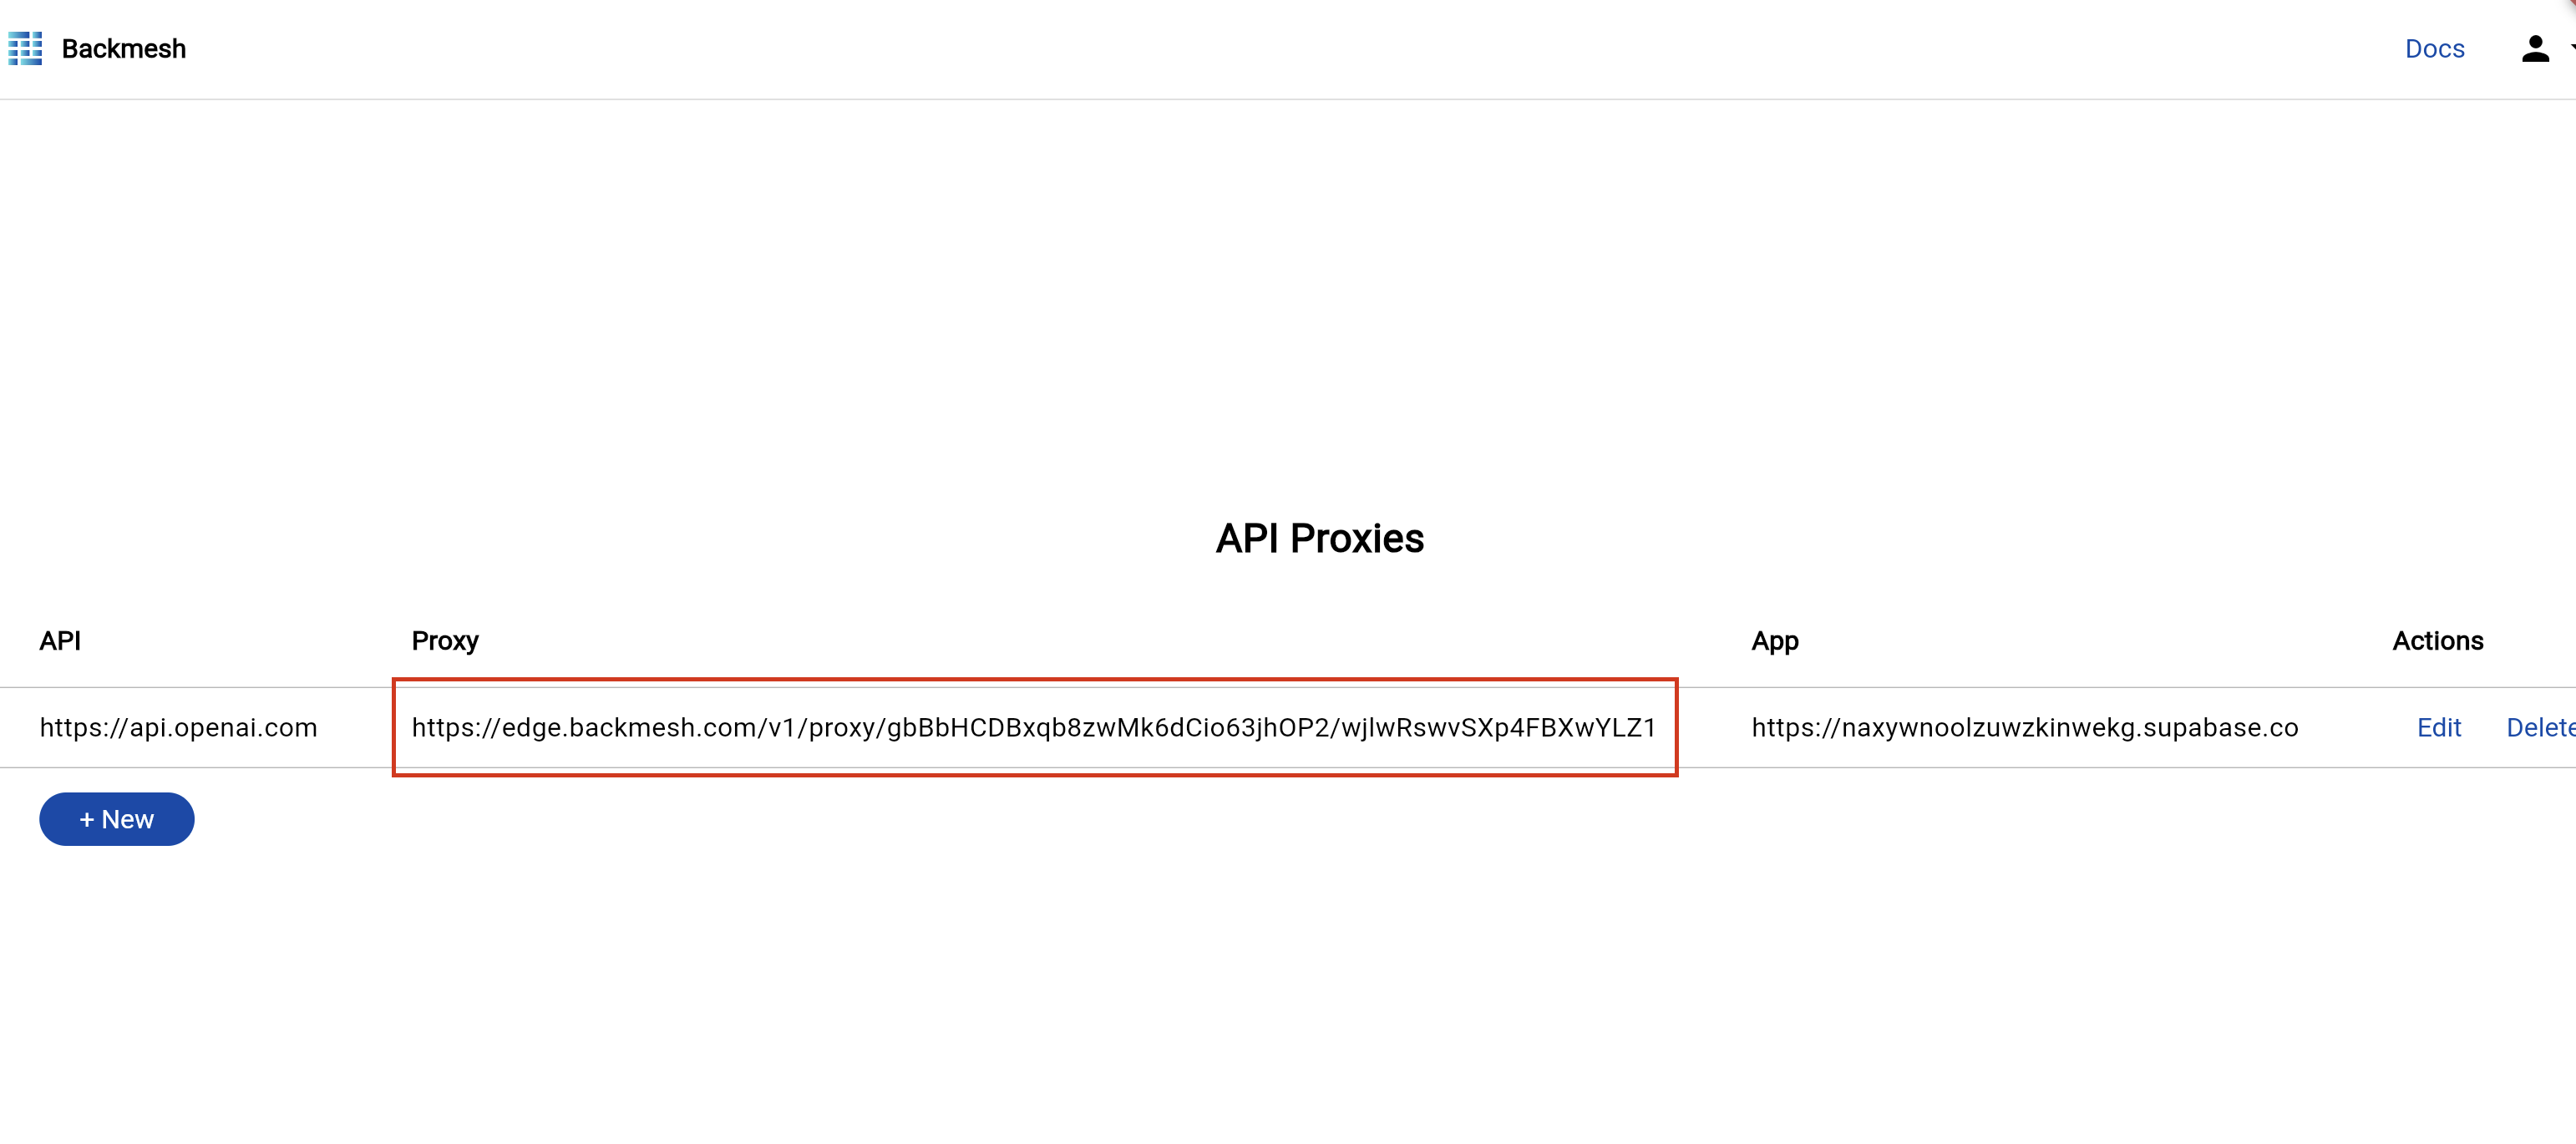
Now you are ready to make API calls in Javascript through the Backmesh LLM API Gatekeeper URL by passing in the user’s JWT token from your app’s authentication provider instead of the API private key to the API client.
import OpenAI from "openai";
import supabase from "supabase-js";

const BACKMESH_URL =
  "https://edge.backmesh.com/v1/proxy/gbBbHCDBxqb8zwMk6dCio63jhOP2/wjlwRswvSXp4FBXwYLZ1/v1";

const jwt = supabase.auth.session().access_token;

const client = new OpenAI({
  httpAgent: new HttpsProxyAgent(BACKMESH_URL),
  dangerouslyAllowBrowser: true, // no longer dangerous
  apiKey: jwt,
});
Backmesh will take over from here and relay the API request with the encrypted private token.